Ontologies
In Monolith, ontologies are like projects: you can create a new one, add new versions of an ontology, create mappings from the ontology to a database, and query the ontology.
Creating an ontology
From the Main Menu, choose Ontology.

This will bring you to the list of all ontologies, from which you can create your first ontology. Press the Add Ontology button, and choose a name and (optionally) a description for your ontology.
Let’s call our first ontology “Books”.
The Books ontology will have been added to the list of ontologies.
Adding a version to the ontology
Choose the Books ontology: now you can add a new Version (either a .owl file, a .graphol file made with Eddy, or a .gscape file made with the Ontology Designer) to the ontology. Let’s try the graphol file, to see what Monolith is capable of.
Once the new version has been loaded successfully, it will have been added to the Ontology Version catalog for the Books ontology. Now select the card in the catalog to open the Ontology module of Monolith.
The Ontology Menu
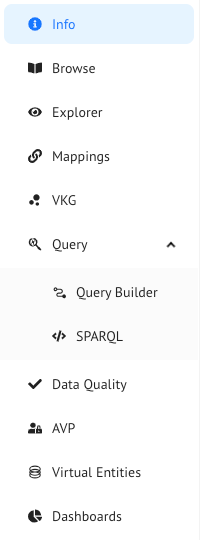
The Ontology Menu lets you navigate the sections of Monolith’s Ontology module:
- Info: here you can download the ontology file and consult all the meta-data of the ontology version.
- The ontology IRI and version. You can also quickly change the version or check the differences in terms of the ontology aplphabet between the current version and an older one.
- The description
- The prefixes and imports defined in the ontology
- The number of axioms, classes, object properties, and data properties in the ontology
-
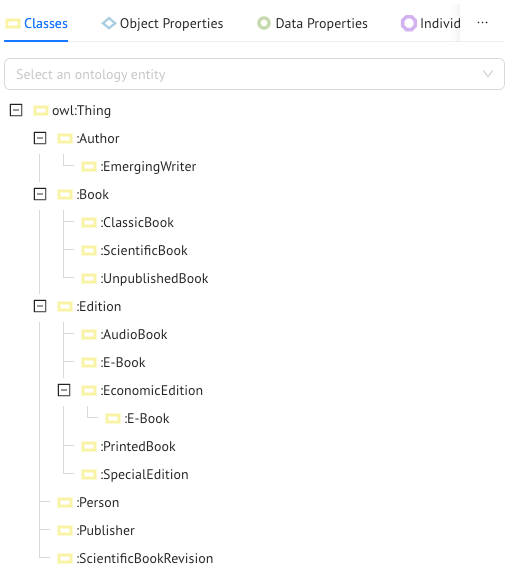
Browse: it lets you inspect all the entities in the ontology by showing their usage in the ontology’s axioms. Entities are accessible from the Ontology Entity Tree, where classes, object properties, data properties and individuals of the ontology are listed hierarchically.
From each entity page you can access the entity in the ontology diagrams through the Graphol button in the upper right-hand corner, and you will be redirected to the Ontology Explorer.
Entities in OWL can be shown in different ways: through their full IRI, through their prefixed IRI, their label, etc. You can choose how you want to render OWL entities in through the Rendering tab of the Settings module (follow the Settings link in the Main Menu and go to the Rendering tab). From here on out, we’ll be using the
entityPrefixIRIrendering mode. - Explorer: Monolith features the Grapholscape viewer for Graphol ontology diagrams, which you can use if you aren’t all that familiar with OWL 2, or if you just want to see a nice diagram of the ontology. We love ontology diagrams, so we highly recommend it! If the Graphol file is not available (you only have the OWL file) here you will see a graph representation (Floaty) of the ontology.
- Mappings: here you can create or load mappings that will link the data to the ontology.
- VKG (Virtual Knowledge Graph): it is your gateway to exploring the ontology and underlying data starting from a single class, and navigating the relationships between the classes and entities in the domain. To be able to fully exploit the capabilities of the VKG explorer, you have to have a Mastro Endpoint set up already. This will allow you to incrementally and seamlessly move from the classes and object properties in the ontology model to the underlying data, meaning to the instances of the classes.
- Query: here you can run queries over the ontologies: no-code graphical queries and SPARQL queries
- Data Quality: here you can manage your process of screening the quality of the DB data by means of the ontology’s rules
- AVP (Authorization View Profiles): here you can manage the access of data to the users by means of the ontology ensuring privacy policies of data.
- Virtual Entities: this is how Mastro is interfaced towards third-parties application such as Power BI, Excel, other…
Previous Next