Ontology Designer
The Ontology Designer is your starting point in case you want to build an ontology from scratch. The Designer lets you graphically create and edit an ontology. It uses the intuitive Floaty Renderer to automatically optimize the layout of the nodes in the ontology.
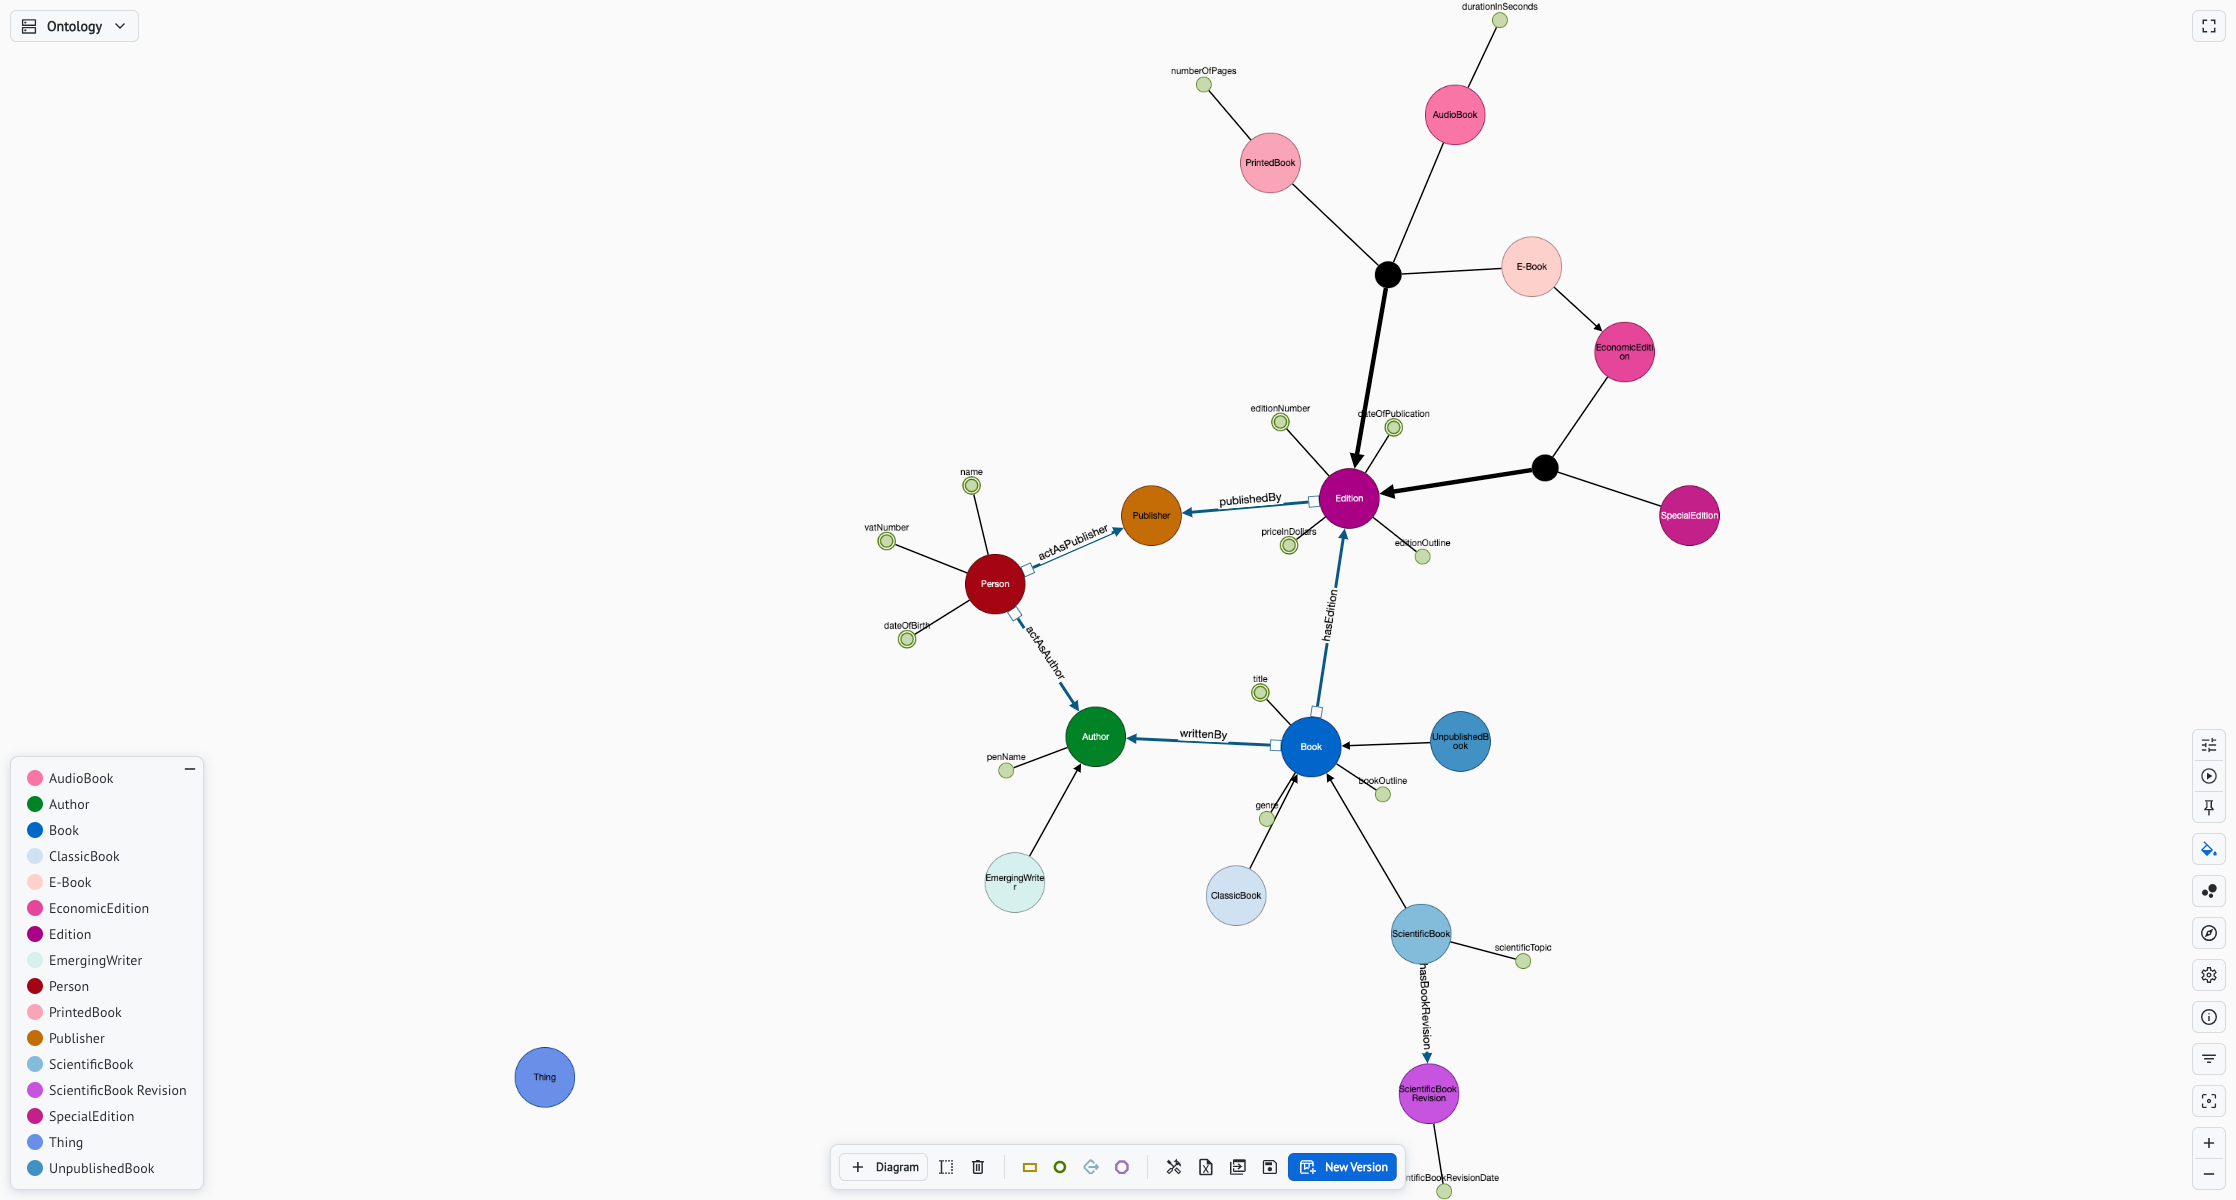
In this environment you will be able either to create a new ontology draft or to edit an existing one: click on the Designer button.
![]()
Creating a new ontology draft
In order to create a new ontology draft, you need to choose the name and the IRI of the draft and, optionally, import an existing ontology to be used as a base to start from.

Editing an ontology draft
Once you have created a new draft or opened an existing one, you can start the editing. For this purpose, the buttons you find both in the Toolbar and in the Contextual Menu will come in handy.
Through the Toolbar you add any kind of new element to the ontology, from diagrams to nodes and edges to the ontology metadata, and you can save the current draft and create a new stable ontology version from the draft.

In detail, the available commands are:
- Add Diagram, from which you can add a new diagram;
- Rename Diagram, from which you can rename the current diagram;
- Delete Diagram, from which you can delete the current diagram with all its elements;
- Add Class node, from which you can add one or more new class nodes;
- Add Data Property node, from which you can add one or more new data property nodes;
- Add Object Property edge, enabled only in case a class node is selected, from which you can add a new object property edge;
- Add Individual node, from which you can add one or more new individual nodes;
- Ontology Manager, that gives access to the ontology manager;
- Save Draft, to save the current state of the draft;
- Save New Version, to save the current draft as an ontology version that can be found among the Ontologies.
Along with the toolbar, each element you can see in the diagrams is provided with a Contextual Menu that can be accessed through a right-click on the element itself. The commands that you can find in a node (or edge) contextual menu change based on the kind of element the menu belongs to. The most basic menu is the one that only provides the remove command. In the following sections we will see the more significant contextual menus.
Class Node Contextual Menu
The richest contextual menu is the one related to the class nodes.
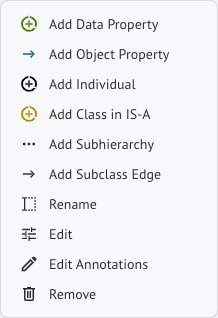
The available commands are:
- Add Data Property, from which you can add new data property nodes and the related data properties will have the current class as domain;
- Add Object Property, from which you can draw a new object property edge and the related object property will have the current class as domain;
- Add Individual, from which you can add new individual nodes and the related inviduals will be instances of the current class;
- Add Class in IS-A, from which you can add a new class node in IS-A with the current class;
- Add Subhierarchy, from which you can add a new set of class nodes that will make up a subhierarchy for the current class;
- Add Subclass Edge, from which you can draw a new subclass edge;
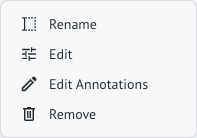
- Rename, from which you can either rename or refactor the entity. In case of refactor, all the nodes of this entity will be changed. Also, you can choose whether to update the label or not;
- Edit, from which you can edit the entity properties;
- Edit Annotations, from which you can add, edit or remove the class annotations;
- Remove, from which you can either delete the single element or all the nodes of this entity. If you choose to remove all the occurrences, the entity itself will be deleted.
Data Property Node Contextual Menu
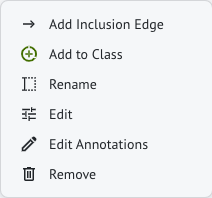
For what concerns the data properties, the available actions are:
- Add Inclusion Edge, from which you can draw a new sub-dataproperty edge;
- Add to Class, from which you can draw a new data property edge to the domain class;
- Rename, from which you can either rename or refactor the entity. In case of refactor, all the nodes of this entity will be changed. Also, you can choose whether to update the label or not;
- Edit, from which you can edit the entity properties;
- Edit Annotations, from which you can add, edit or remove the data property annotations;
- Remove, from which you can either delete the single element or all the nodes of this entity. If you choose to remove all the occurrences, the entity itself will be deleted.
Furthermore, you can toggle the functionality of the data property by double-clicking on the node.
Individual Node Contextual Menu
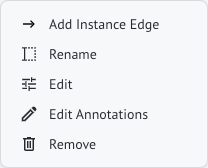
The available commands on the individual nodes are:
- Add Instance Edge, from which you can draw a new instance edge linking the individual to its parent class;
- Rename, from which you can either rename or refactor the entity. In case of refactor, all the nodes of this entity will be changed. Also, you can choose whether to update the label or not;
- Edit, from which you can edit the entity properties;
- Edit Annotations, from which you can add, edit or remove the individual annotations;
- Remove, from which you can either delete the single element or all the nodes of this entity. If you choose to remove all the occurrences, the entity itself will be deleted.
Object Property Edge Contextual Menu
For what concerns the object properties, the possible actions are the basic ones:
- Rename, from which you can either rename or refactor the entity. In case of refactor, all the nodes of this entity will be changed. Also, you can choose whether to update the label or not;
- Edit, from which you can edit the entity properties;
- Edit Annotations, from which you can add, edit or remove the object properties annotations;
- Remove, from which you can either delete the single element or all the nodes of this entity. If you choose to remove all the occurrences, the entity itself will be deleted.
Furthermore, you can change the domain/range of the object property by moving its source/target anchors.
Hierarchy Node Contextual Menu
The last relevant contextual menu is the one available for hierarchy nodes.
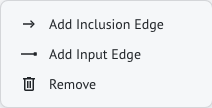
This menu gives you the possibility to:
- Add Inclusion Edge, from which you can draw an inclusion edge linking the hierarchy to a parent class;
- Add Input Edge, from which you can draw an input edge linking the hierarchy to a subclass;
- Remove, from which you can remove the hierarchy itself.
Also, by toggling the node you can change the disjointness of the hierarchy, whereas by toggling an inclusion edge you can change the completeness.
Main Commands
We have seen in the previous section the commands provided by the contextual menus and by the toolbar. However, some of these commands need a deeper description.
Add Class Node
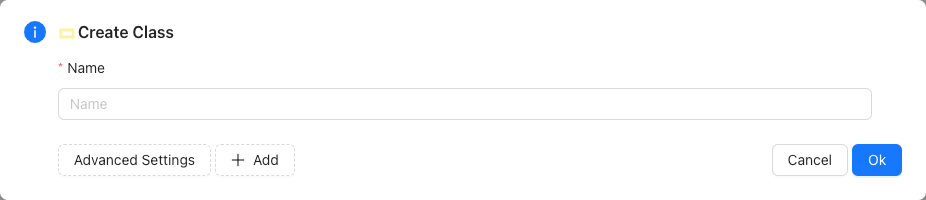

One of the first steps towards building an ontology surely is adding new classes. In the designer environment you can do so by specifying the name of the class, from which the system will automatically generate the IRI. You can add more than one class by clicking on the ‘+’ button.
You can also access the Advanced Settings from where you can change both the namespace and the label settings. You can indeed choose whether to automatically retrieve the label from the name, specify the language of the said label and decide if a case conversion has to be applied.
Add Data Property Node
In order to add a new data property node, you can type the name, choose the datatype from the listing and specify whether the data property is functional. As for the classes, you can add more than one data property by clicking on the ‘+’ button.
Also, you can access the Advanced Settings from where you can change both the namespace and the label settings.
Add Individual Node
The process for adding a new individual node is the same as for adding a new class. Here too, after typing the name of the individual, you can add more than one by clicking on the ‘+’ button or access the Advanced Settings.
Add Object Property Edge
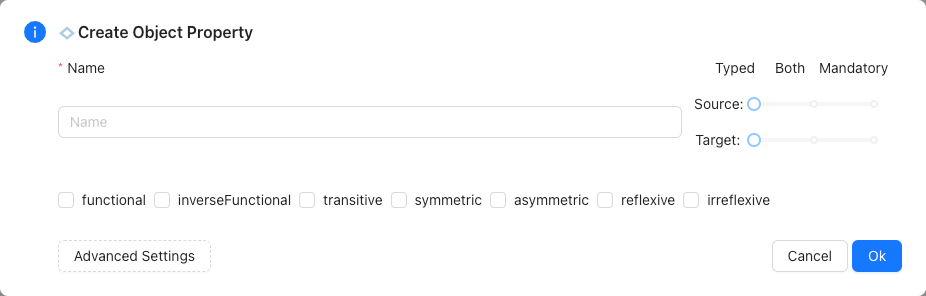
Once you have drawn an object property edge, you have to name it and, through the Advanced Settings, you can also specify its properties, along with the namespace and the label settings.
Add Class in IS-A
This command gives you the possibility to add a new class node and at the same time specify whether it is a subclass or a parent class of the current one.
Add Subhierarchy
Much like the previous command, here too you add new class nodes that will form a new subhierarchy for the current class. Also, you can specify the disjointness and the completeness of this subhierarchy.
Edit
By editing a node, you can modify the entity name and properties. Alongside, you can choose whether to update the label or not. These changes will affect all the occurrences of this entity.
Edit Annotations
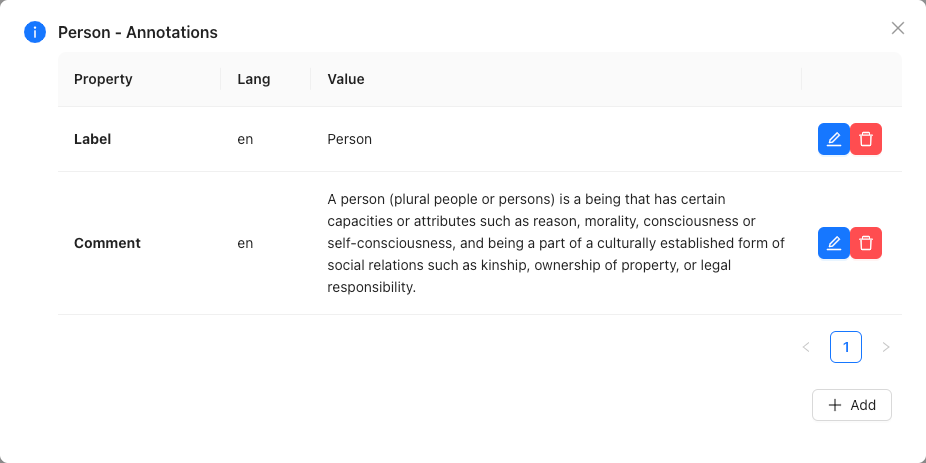
Here you can find the list of annotations of the current entity. Each of these can be edited, deleted or you can add a brand new annotation.
Ontology Manager
Up until here we have explored the available actions that affect the single elements of the draft ontology. In the ontology manager instead you can explore the ontology metadata.
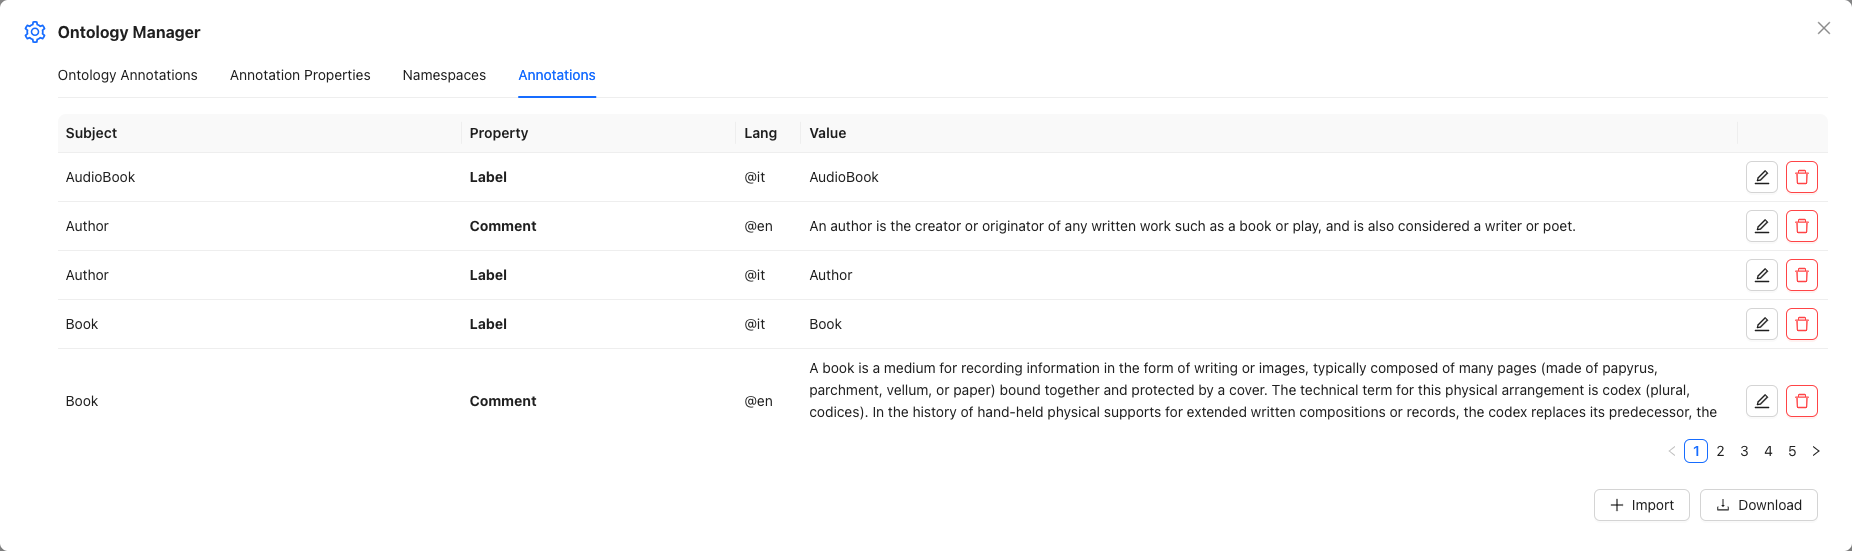
Here you have four tabs:
- Ontology Annotations, where you can find all the ontology annotations. You can edit them, delete them or add new ones;
- Annotation Properties, where you find all the standard annotation properties, such as the label and comment ones. Here as well you can edit, delete or add new properties;
- Namespaces, where you can find all the namespaces defined in the current ontology, along with the associated prefixes. Each of these can be edited, deleted and you can add new ones.
- Annotations, where you can find all the annotations defined in the current ontology for every entity (subject of the annotation). You can also download them as a CSV/Excel file or upload the annotations via the Import button from a CSV file.
Previous Next